Mold Flipper: How Do You Plan Installation to Avoid Downtime in Saudi Plants?
Your steel plant in Saudi Arabia is a finely tuned machine, operating around the clock. The idea of installing new equipment, like a mold flipper, can feel like a major threat. Every minute of unplanned downtime means lost production and escalating costs. The pressure to get it right is immense. A poorly planned installation can trigger a cascade of problems, from technical glitches to safety hazards, turning a promising upgrade into a costly nightmare. You are not just bolting down a piece of metal; you are performing open-heart surgery on your production line. But this process does not have to be filled with risk and anxiety. With a clear, strategic plan, you can integrate a new mold flipper into your operations with zero unplanned downtime. I have built my career on mastering this process, from my early days as an engineer to running my own factory, and I want to share the exact framework that ensures a smooth, successful installation every time.
Planning a mold flipper installation to avoid downtime in Saudi plants involves three key stages: comprehensive pre-installation preparation, aligning the installation with a scheduled plant shutdown, and conducting efficient post-installation commissioning. This structured approach ensures the new equipment is integrated smoothly without disrupting ongoing production.
This high-level view sounds straightforward, but success is found in the details. A seamless installation is not a matter of luck. It is the result of a repeatable and robust strategy. It is about foreseeing challenges and preparing for them long before they happen. Let's break down each step of this framework. I will guide you through the critical questions you need to ask and the actions you need to take to transform a potentially disruptive event into a predictable, value-adding upgrade for your facility.
What is the critical pre-installation phase for a mold flipper in a Saudi plant?
You have made the investment and your new mold flipper is on its way. It is easy to think that the work begins when the equipment arrives at your Saudi plant. This is a common mistake. Many managers believe the installation process starts when the tools come out, but that mindset is a direct path to expensive delays and frustration. Imagine the delivery truck arrives, but the concrete foundation is not cured, the electrical supply does not match the machine’s requirements, or the pathway to the installation spot is blocked by other materials. Suddenly, you are paying a skilled installation team to wait while your staff scrambles to fix basic issues. The clock is ticking, production targets are at risk, and costs are climbing. This is a completely avoidable scenario. The solution is a detailed and disciplined pre-installation phase. This is the foundation upon which a successful project is built. By checking every single detail beforehand, you guarantee that when the installation team walks onto your site, they can begin their work immediately and efficiently.
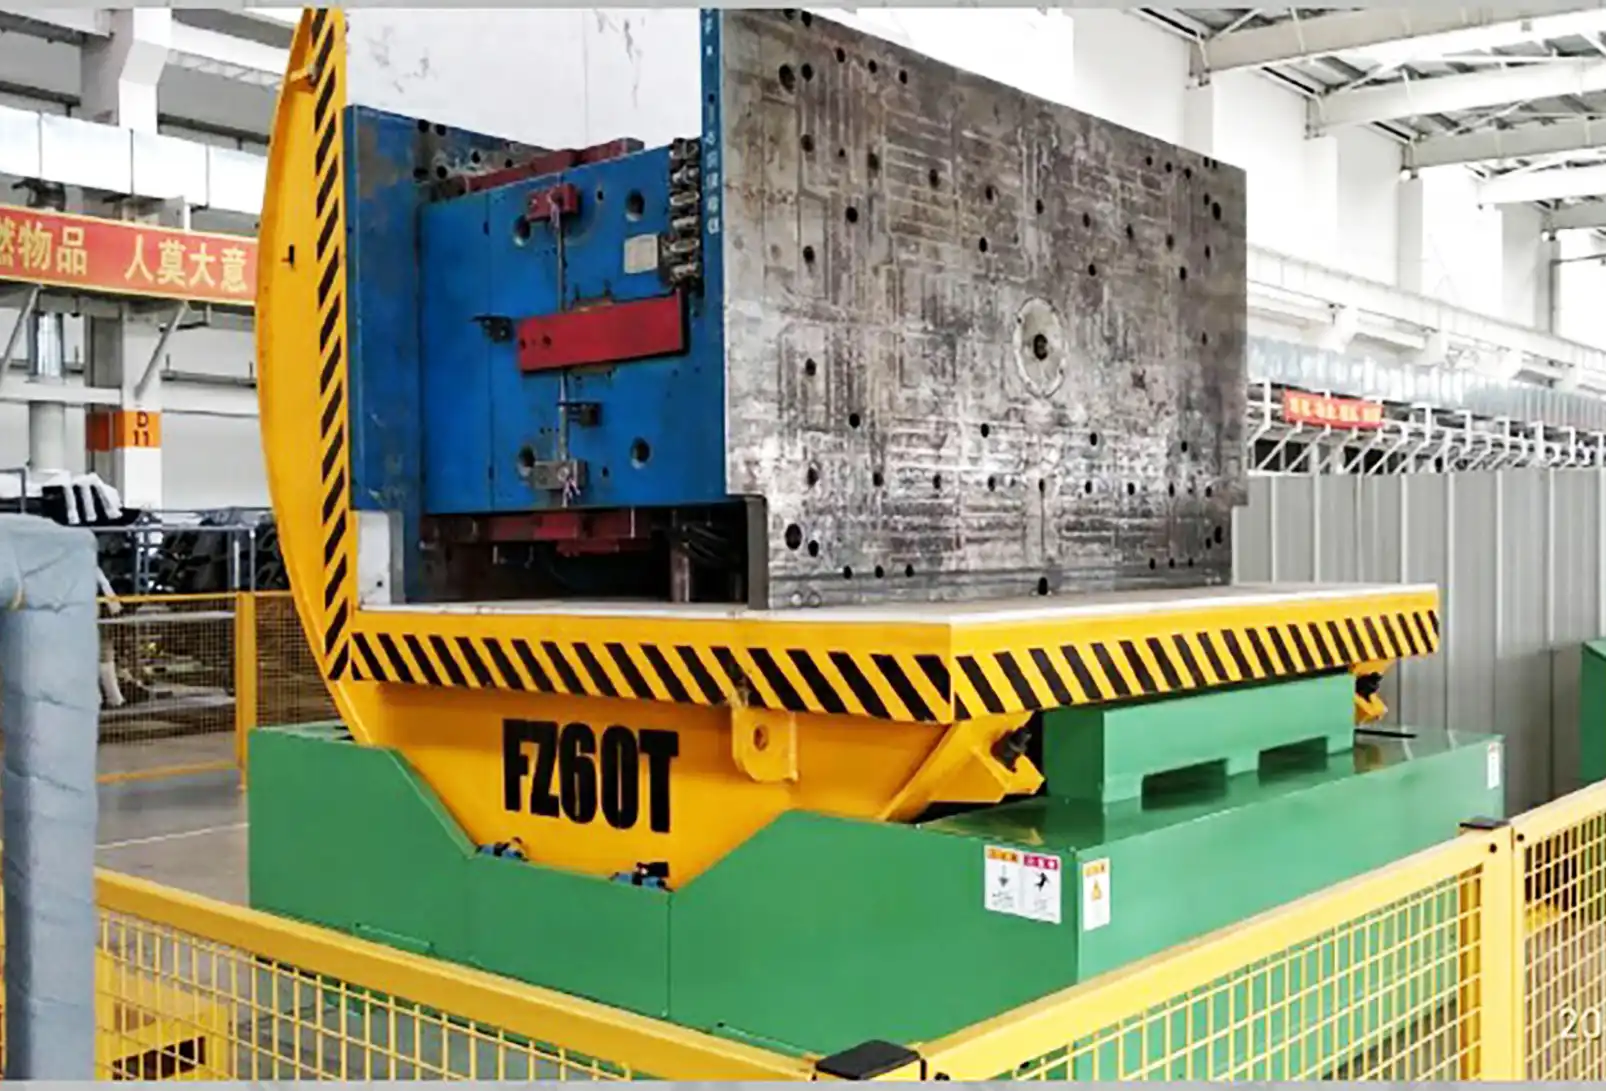
The critical pre-installation phase involves a detailed site audit, utility verification, and logistical planning. This means confirming the foundation's integrity, ensuring the correct power and hydraulic connections are available, and mapping a clear path for moving the equipment into position within your Saudi plant.

Site and Foundation Audit
The first step is to look at the ground where the machine will stand. This is more than just a quick glance. In a region like Saudi Arabia, factors like high ambient temperatures can affect things like concrete curing times. You need to ensure the foundation has been poured with enough lead time to reach its full design strength. We always provide a detailed foundation drawing, but it is your team's job to verify it on the ground. We work with clients to perform a load-bearing capacity check to ensure the floor can handle the static weight of the mold flipper plus the dynamic load of the heaviest mold it will handle. We also consider the surrounding area. Is there heavy equipment nearby that causes vibrations? These vibrations could potentially affect the new machine's alignment and long-term health. A simple analysis can prevent complex problems later.
Utility and Services Checklist
A mold flipper is not a standalone island. It needs power, hydraulics, and sometimes compressed air to function. A mismatch here is one of the most common causes of installation delays. I insist on creating a simple but mandatory checklist. This is not just a formality; it is a critical project document. It ensures that what we specified in the design phase is exactly what is available on-site.
| Utility | Specification Required (Example) | Verified On-Site? | Checked By | Date |
|---|---|---|---|---|
| Electrical Power | 480V / 3-Phase / 60Hz / 100A | Yes / No | Plant Electrician | YYYY-MM-DD |
| Hydraulic Hookup | ISO 68 Fluid, 2x 1" NPT Ports | Yes / No | Plant Mechanic | YYYY-MM-DD |
| Compressed Air | 90 PSI / 6 Bar, Clean & Dry | Yes / No | Maintenance Tech | YYYY-MM-DD |
| Network/Data | Ethernet Port Cat 6 | Yes / No | IT Department | YYYY-MM-DD |
This simple table forces accountability and removes assumptions. The "Checked By" column is crucial. It assigns ownership to a specific person on your team.
Logistics and Access Planning
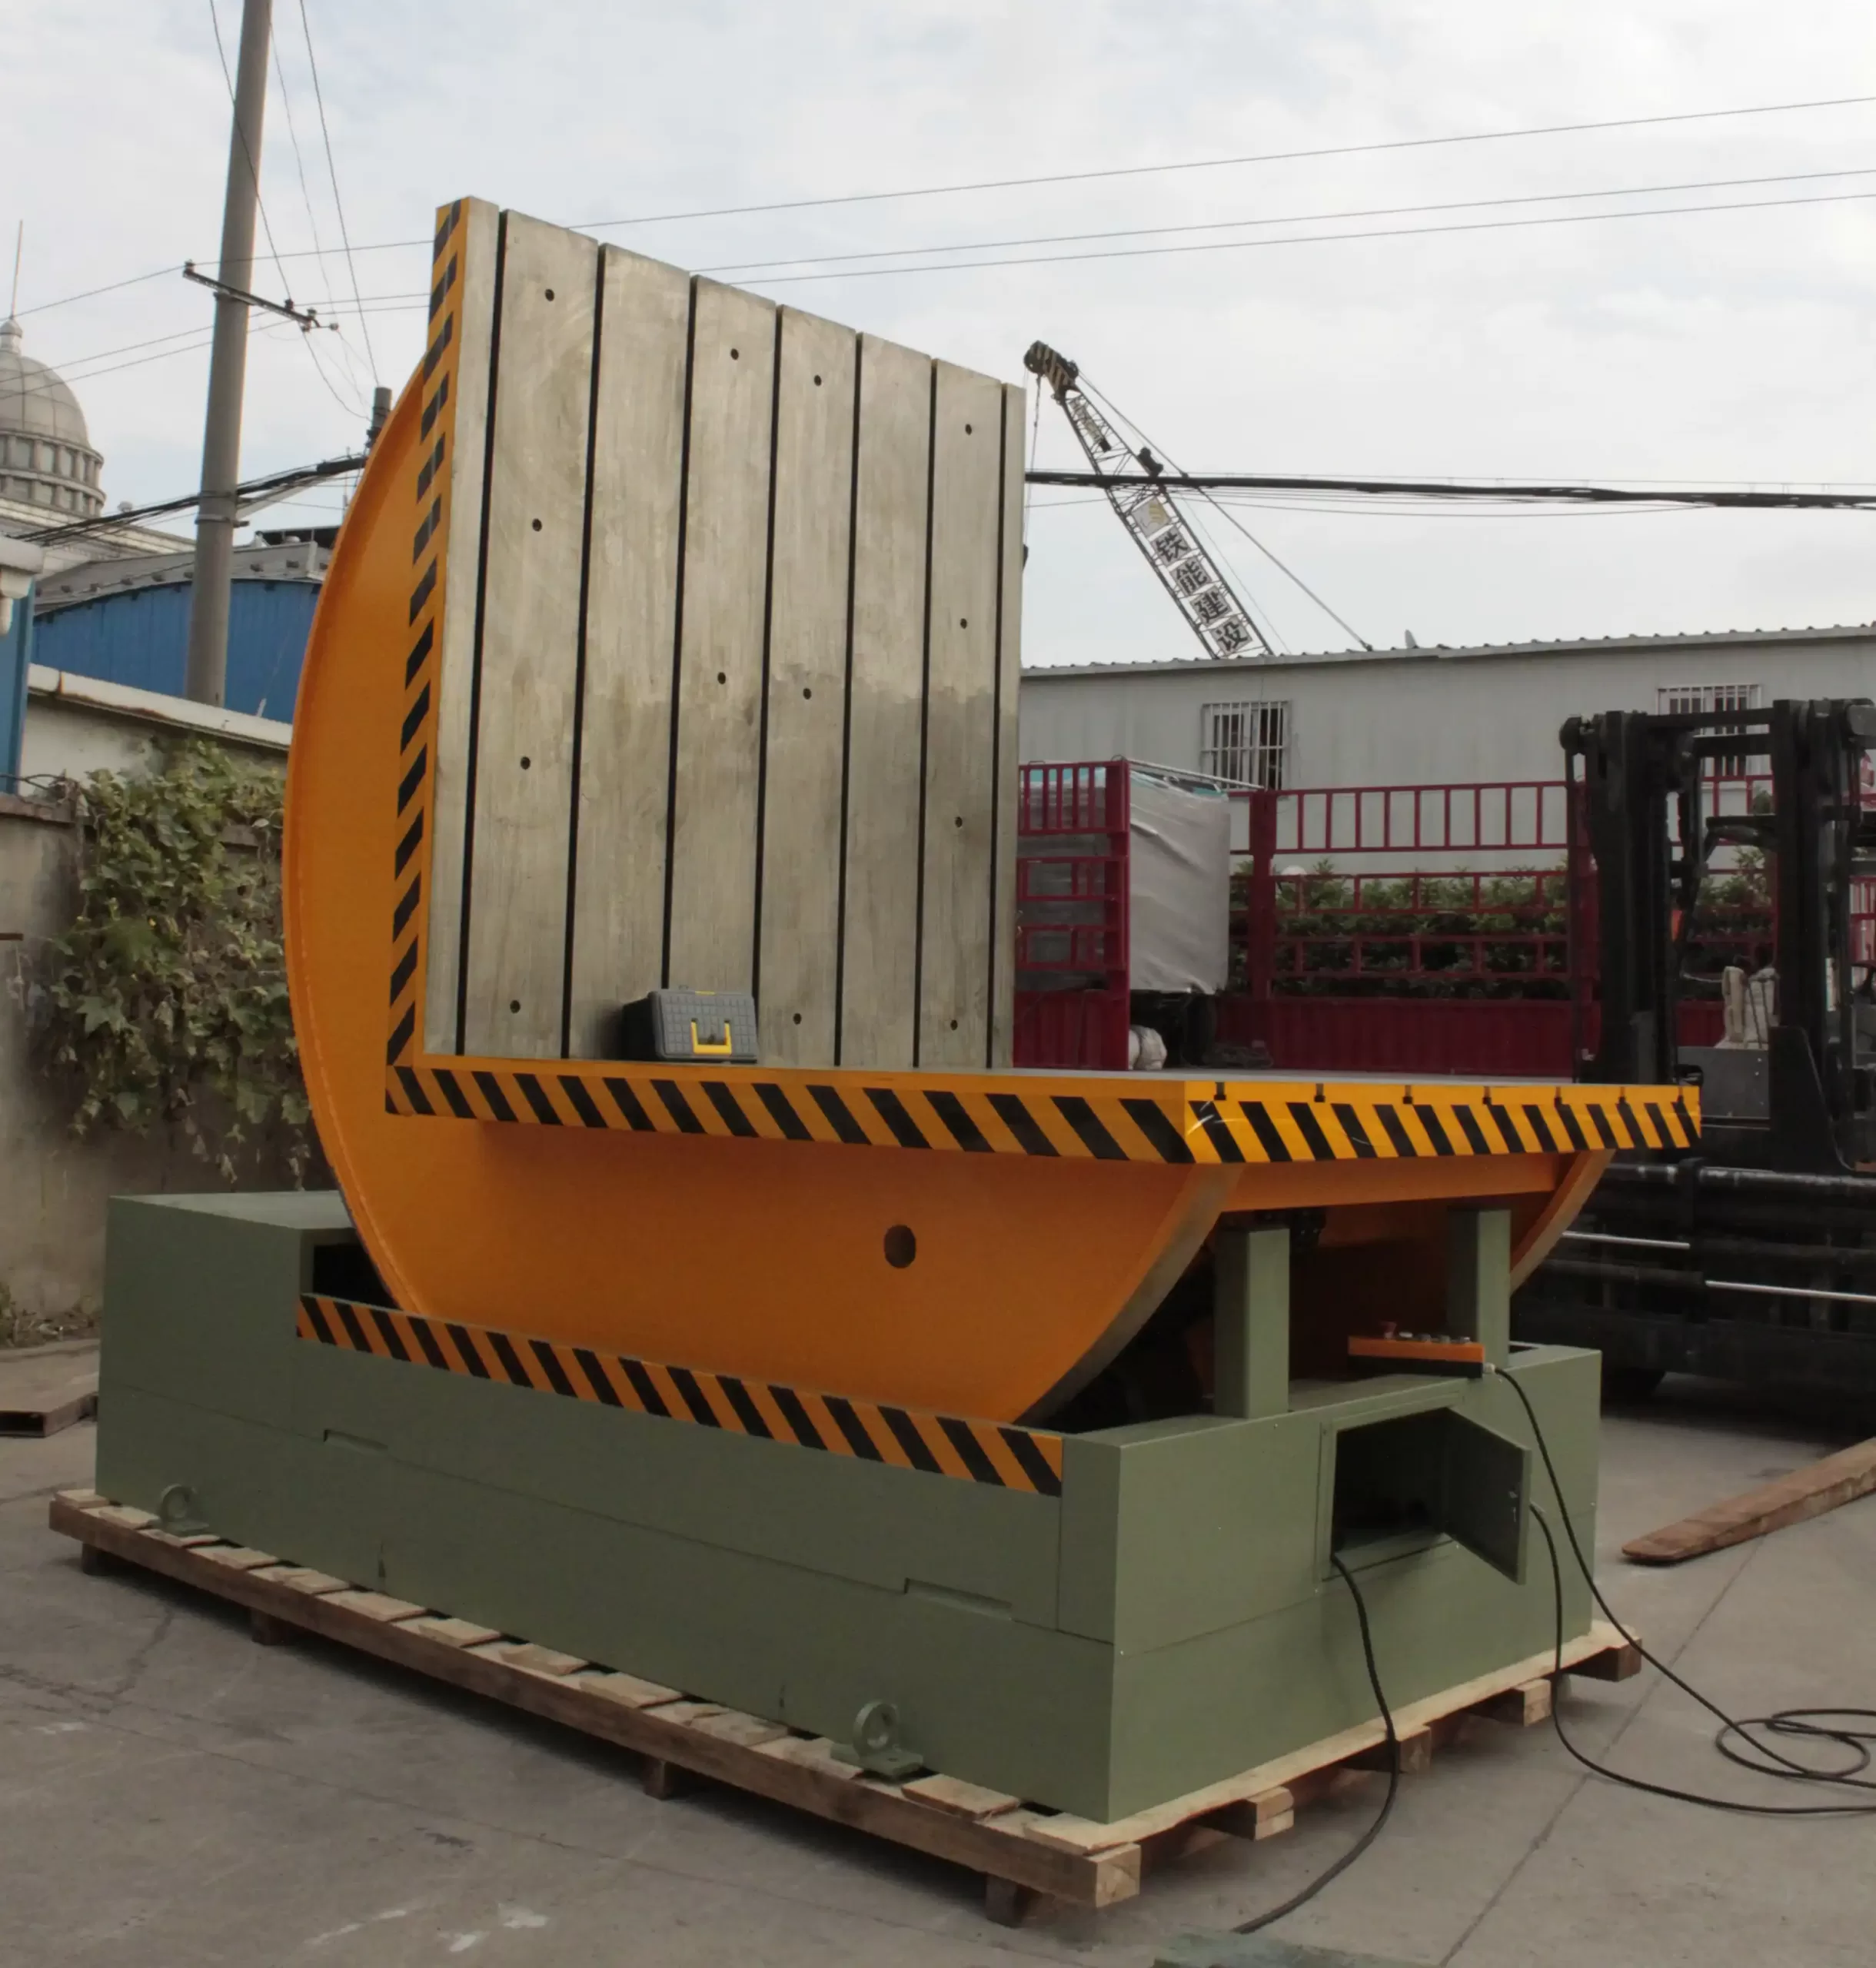
Finally, you have to plan the machine's journey from your plant gate to its final position. In large, busy industrial plants like those in Saudi Arabia, this requires careful coordination. We map out the entire route. We identify potential bottlenecks, like tight corners or low-hanging pipes. We determine exactly what lifting equipment is needed—a 25-ton crane, a heavy-duty forklift—and ensure it is booked and available. We also coordinate with your plant’s traffic and safety departments to schedule the movement, minimizing disruption to other ongoing activities. This often involves securing internal work permits, a step that cannot be overlooked in a well-managed facility.
How can you schedule the installation to sync with planned shutdowns?
The biggest fear for any plant manager is an unplanned production stop. For a high-capacity steel mill, stopping the line just to install one new machine is almost unthinkable. The financial losses can be staggering. You know you need to find a window of opportunity, but coordinating the schedules of your maintenance department, the equipment supplier, and the third-party installation crew is a complex puzzle. One small miscalculation can lead to two bad outcomes: either your plant is idle waiting for the installation team, or the installation team is idle waiting for the plant to shut down. Both scenarios waste time, money, and create unnecessary stress for everyone involved. The only logical solution is to view the mold flipper installation not as a separate, inconvenient event, but as an integral part of your next major planned shutdown. It becomes one of the core tasks on the shutdown project plan, given the same attention as any other critical maintenance activity.
To sync the installation with a planned shutdown, you must integrate the installation timeline into your master shutdown schedule at least 3-6 months in advance. This involves creating a detailed Gantt chart that sequences tasks, allocates resources, and defines clear dependencies between the mold flipper installation and other maintenance activities.
The Art of Shutdown Integration
Planned shutdowns, whether for furnace relining, annual maintenance, or other major overhauls, are golden opportunities. Your plant is already scheduled to be offline. This is the perfect time to perform the "surgery" of installing a new machine. The key is early communication. As soon as you decide to purchase the mold flipper, your project lead should be meeting with your maintenance planning department. The installation needs to be officially added to the shutdown scope. From my experience, the most successful projects assign a dedicated project manager from the plant side. This person's job is to champion the installation, secure resources, and ensure it stays on the master schedule. They become the vital link between our team at SHJLPACK and your own operational team.
Creating a Realistic Installation Timeline
Hope is not a strategy. A successful installation runs on a clear, realistic timeline. We always work with our clients to build a detailed schedule, often using a Gantt chart. This visual tool helps everyone understand the sequence of events and their role in it. A typical timeline might look something like this:
| Day | Task Description | Team Responsible | Notes |
|---|---|---|---|
| Shutdown T-2 | Final site verification and tool staging | Plant Team & Supplier Technician | Confirm all pre-installation checks are complete. |
| Shutdown T-1 | Equipment delivery and uncrating at site | Logistics Team & Supplier | Position near installation point, out of the way. |
| Day 1 | Position machine and mechanical anchoring | Plant Mechanics & Supplier Technician | The shutdown begins. Critical path starts here. |
| Day 2 | Electrical and hydraulic connections | Plant Electricians/Mechanics & Supplier | Connect all utilities to the main machine panel. |
| Day 3 | Initial power-on and safety checks (no load) | Supplier Technician & Plant Safety Officer | Test E-stops, sensors, and basic movements. |
| Day 4 | Commissioning with test load and training | Supplier Technician & Plant Operators | Use a non-critical mold to test full functionality. |
| Day 5 | Final handover and documentation sign-off | Project Leads (Plant & Supplier) | Complete Site Acceptance Test (SAT) document. |
Managing Dependencies and Contingencies
No shutdown plan is perfect. Other maintenance tasks might run late, potentially delaying access to your installation area. A smart plan acknowledges this. We identify the "critical path" for the mold flipper installation—the sequence of tasks that must happen on time. We also build in a small amount of buffer time, perhaps a few hours between major steps, to absorb small delays elsewhere. We also plan for the unexpected. What happens if a specific bolt is missing or a hydraulic hose is damaged in transit? A clear and direct communication channel back to us, the supplier, is vital. This is where a true partnership shows its value. I tell my clients, "Your problem is my problem until that machine is running perfectly." This commitment provides the peace of mind that a proactive partner, not just a vendor, is working with you.
Which team members are essential for a smooth mold flipper installation?
You can have the most detailed plan in the world, but a plan is just a piece of paper without the right people to bring it to life. Assigning an unprepared team or having a group that fails to communicate can quickly turn a straightforward technical project into a chaotic management crisis. Picture this scenario: our technicians arrive on-site, ready to work, but your local mechanics have not been briefed on the foundation requirements. Your safety officer is unaware of the specific lifting plan and withholds the work permit. Your electricians and mechanics are pointing fingers at each other over whose job it is to connect the control panel. This kind of confusion is a primary source of delays and budget overruns. The solution is to build a single, unified team. This requires assembling a dedicated, cross-functional group with crystal-clear roles and a single, recognized leader. It is about creating a high-performance unit focused on one shared goal: a safe, efficient, and successful installation.
The essential team for a mold flipper installation includes a Project Lead from your plant, the Supplier's Lead Technician, your own skilled mechanical and electrical engineers, a dedicated Safety Officer, and the equipment operators who will use the machine. Clear communication and defined responsibilities are non-negotiable for this team's success.

Defining Roles and Responsibilities
Clarity is speed. When everyone knows exactly what they are responsible for, work gets done faster and with fewer errors. Before any installation begins, we insist on a kickoff meeting to review and agree on roles.
| Role | Key Responsibilities | Critical Skills |
|---|---|---|
| Plant Project Lead | Overall coordination, resource allocation, internal communication | Project management, decision-making, problem-solving |
| Supplier Technician | Technical expert on the machine, leads commissioning, training | Deep product knowledge, hands-on mechanical/electrical |
| Mechanical Engineer | Foundation sign-off, mechanical anchoring, alignment, hydraulics | Precision measurement, rigging, hydraulics expertise |
| Electrical Engineer | Power hookup, control panel integration, network connection | Electrical codes, PLC/HMI knowledge, troubleshooting |
| Safety Officer | Work permits, Lockout/Tagout (LOTO), risk assessment | Plant safety protocols, regulatory compliance |
| Equipment Operator | Provides user perspective, participates in training and testing | Understanding of workflow, operational safety |
The Communication Protocol
A great team needs great communication. We establish a simple but effective communication protocol from day one. This always includes a mandatory daily huddle meeting. Every morning, for 15 minutes, the entire team gathers at the installation site. We review what was accomplished yesterday, what the plan is for today, and identify any obstacles. This simple ritual prevents misunderstandings and keeps the project moving. We also establish a single channel for urgent communications, like a dedicated WhatsApp group or a shared digital space. This avoids confusion and ensures key information reaches everyone instantly.
Fostering a Collaborative "One Team" Culture
This is perhaps the most important element. The supplier’s team and the plant’s team are not two separate groups. For the duration of the project, we are one team with one objective. I remember an installation in Dammam where we encountered an unexpected issue with the floor-levelness that was beyond the specified tolerance. Our technician and the plant's lead mechanic didn't blame each other. Instead, they worked together for three hours, using precision shims and grout, to solve the problem. That is the kind of partnership that defines a successful project. It's about shared ownership of the outcome. As a supplier, our job isn't just to deliver a machine; it is to ensure it becomes a successful and productive part of your operation.
How do you manage post-installation testing and training without disrupting operations?
The mold flipper is bolted down, the power is connected, and the planned shutdown period is over. The rest of your plant is roaring back to life. It is tempting to declare victory, but the job is not finished. This final phase—commissioning and training—is where the machine proves its worth. Rushing this step is a critical mistake. Inadequately tested equipment can hide underlying issues that will only surface under full production load, leading to another, unplanned, shutdown. More importantly, untrained operators pose a significant risk. They could damage the new multi-thousand-dollar asset or, even worse, cause a safety incident. You cannot afford to disrupt your now-running plant, but you also cannot afford to skip this final, crucial phase. The solution is a structured, phased approach to testing and training, one that moves methodically from simple checks to full-load operation in a controlled and safe manner.
To manage post-installation testing and training without disruption, you must follow a phased commissioning process. Start with "dry runs" (no-load tests) for safety and function checks. Then, conduct "wet runs" (load tests) using dummy or non-critical molds during brief, scheduled pauses in production, while simultaneously training operators on the new equipment.

The Phased Commissioning Checklist
We never just "turn it on and see what happens." Commissioning is a deliberate, step-by-step process designed to verify every function safely.
- Phase 1: Pre-Power-On Checks. Before any electricity flows, we do a final mechanical and electrical inspection. Are all bolts torqued correctly? Are all wires terminated securely? Is the hydraulic system free of leaks?
- Phase 2: No-Load Functional Tests. With power on, we test every function without a mold. We test the tilting motion, rotation, limit switches, and all safety features like emergency stops and light curtains. This is done with only the installation team and safety officer present.
- Phase 3: Initial Load Tests. This is the first "wet run." We find a brief window, perhaps during a standard shift change or a brief pause in the line. We use a test weight or a decommissioned, non-critical mold to run the machine through a full cycle under a controlled load. This is also the perfect time for the first hands-on operator training.
- Phase 4: Production Load Tests. The final validation. We work with your production schedule to use the mold flipper during a real mold changeover. We observe the full process, confirming that the machine performs to specification under real-world conditions.
Effective Operator and Maintenance Training
Training is not a single lecture in a classroom. Effective training ensures your team is confident and competent. I built my business on the principle that my responsibility doesn't end at delivery. We provide comprehensive training tailored to different roles.
- For Operators: We start with a brief classroom session covering the HMI (Human-Machine Interface), operating principles, and key safety features. But the most valuable training is hands-on. We have them operate the machine under our direct supervision during the load testing phases.
- For Maintenance: Your maintenance crew gets a different kind of training. We focus on the preventative maintenance schedule, lubrication points, hydraulic system checks, sensor calibration, and basic troubleshooting. We walk them through the electrical and hydraulic schematics, ensuring they know how to keep the machine running for years to come.
The Handover and Documentation
The project concludes with the formal handover. This is a crucial step that many suppliers overlook. It involves the joint sign-off of the Site Acceptance Test (SAT) document. This document confirms that both parties agree the mold flipper has been installed correctly, has passed all tests, and meets the agreed-upon performance criteria. We also ensure your team receives the complete documentation package: operator manuals, maintenance guides, electrical drawings, hydraulic schematics, and a recommended spare parts list. A successful handover means your team is fully equipped to own and operate their new asset.
Conclusion
A mold flipper installation is a project, not just a task. Meticulous planning, clear communication, and phased execution transform a potential risk into a predictable, zero-downtime success for your plant.


